
Turning old into stylish – our bathroom makeover with microcement
- jangleinser

- Mar 17
- 3 min read
When we took over our holiday apartment Vespa Azzurra in Aquaseria on Lake Como, it quickly became clear: this place has incredible potential. Over the past year, we’ve invested a lot of time, effort, and attention to detail into renovating it, with the goal of creating a stylish and comfortable stay for our guests.
However, one room initially remained untouched – the bathroom.
A bathroom with a solid foundation – but lacking character
The bathroom was around 20 years old and fully tiled. It wasn’t really ugly, but it wasn’t anything special either. The slightly yellowish tiles felt a bit dated, and there were numerous old drill holes as well as some poorly laid tiles in certain areas.
Once the rest of the apartment had been renovated, it was clear to me: the bathroom should finally reflect the same modern and thoughtfully designed character as the rest of the holiday home.


The decision to use microcement
The biggest challenge was clear: I wanted to complete the entire project myself and finish it within a maximum of one week.
Removing all the tiles was therefore not an option – too much effort, too much dust, and simply too time-consuming. The solution was microcement.
Microcement comes with several advantages:
it can be applied directly over existing tiles
it creates a seamless, modern surface
it is waterproof and durable
and it provides a very calm, high-end look
Exactly what I had in mind for the new bathroom.


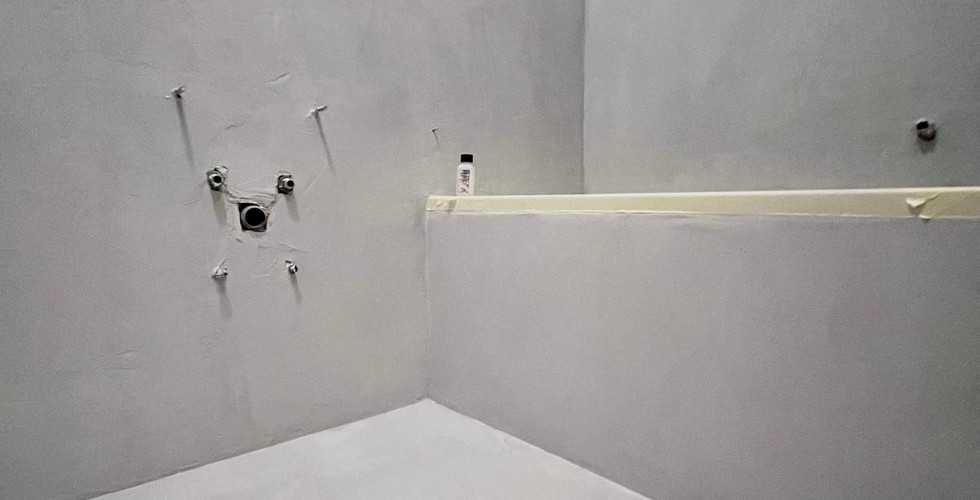
Step by step to a new surface
Once the bathroom had been completely cleared out, the real work began.
The process was carried out in several steps:
Priming the tiles
Waterproofing the wet areas using a liquid waterproofing membrane
Embedding fiberglass mesh into the surface
Applying the microcement in several layers
Sealing the surface


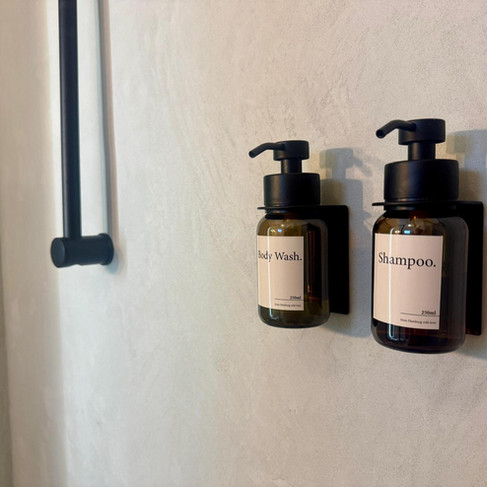
Afterwards, the new elements were installed: black fittings, a new vanity unit, and a modern sink.
It all sounds quite manageable – but to be honest, it was also pretty exhausting. At times, I spent up to 12 hours a day applying and smoothing the material just to finish the project within the planned week.


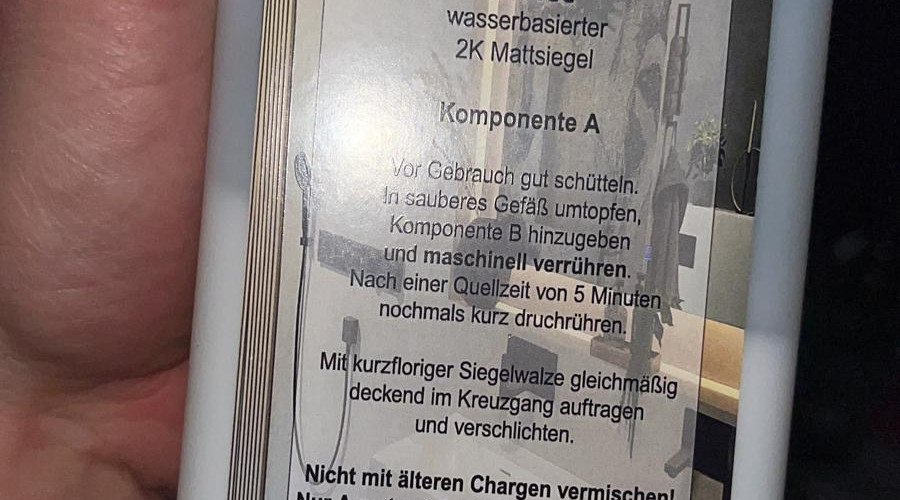
An unexpected color change
I had originally ordered a beige microcement for the bathroom. But when I opened the delivery, I got a surprise: the color was grey.
At first, I was honestly a bit disappointed. But stopping everything in the middle of the renovation and driving back home wasn’t an option. So I decided to make the best of it.
Looking back, it might even have been a stroke of luck.
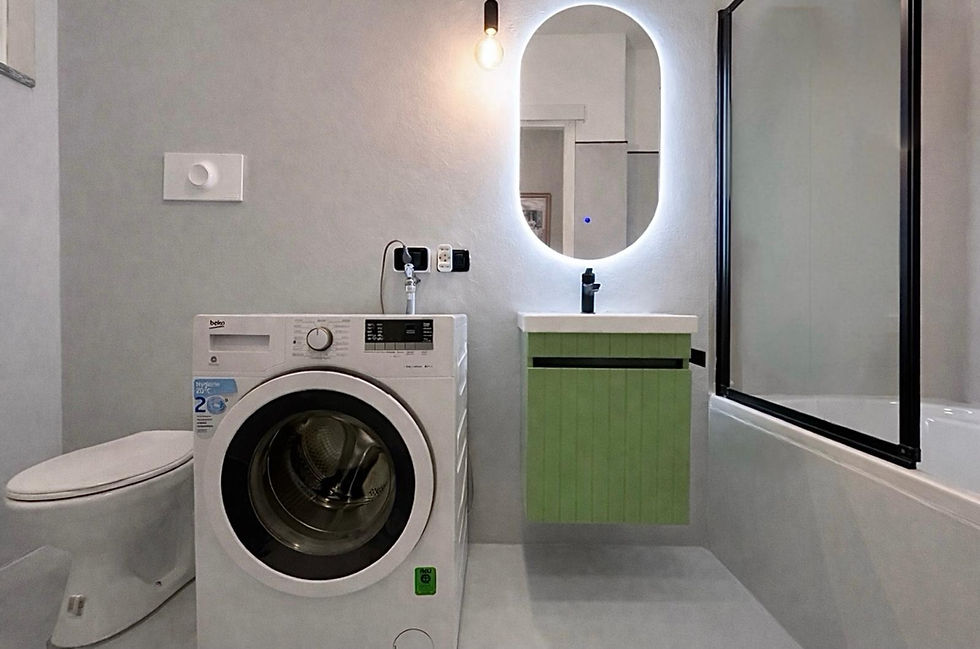
Modern design with subtle color accents
The finished bathroom now feels modern, calm, and at the same time very stylish.
The combination of grey microcement and black fittings gives the room a clean and elegant look. A touch of color is added by the sage green vanity unit with a countertop basin, bringing a fresh note to the space.
Another highlight is the oval mirror with integrated LED lighting, which creates a particularly pleasant atmosphere in the evening.


An intense week – with a great result
What I enjoyed most in the end was seeing how much you can achieve in just one week when you set a clear goal. Even though it was physically quite demanding, the effort was absolutely worth it.
With a bit of luck in estimating the materials, I was able to use almost everything down to the very last bit – perfect timing.
Today, the bathroom finally matches the style of the apartment just as well as the rest of Vespa Azzurra.
And every time I step into the bathroom now, I think to myself: that week of troweling was definitely worth it.


Comments